I love the Rochester farmers market. If you are in the area on a Saturday morning, I really suggest going. Finding a parking spot isn’t always a stress free experience, but my good friend Meg and I can usually get in with only a couple unladylike phrases. Lol. 🙂
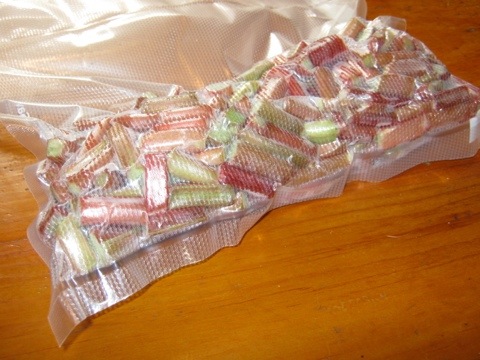
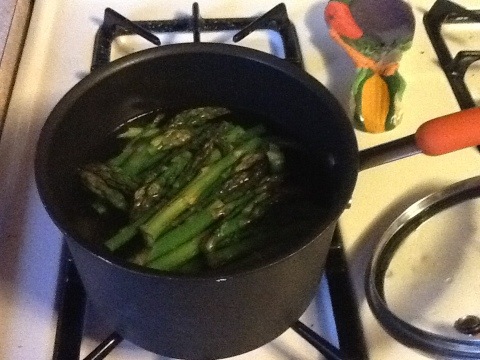
Today I purchased asparagus for $8. Which I am currently freezing in the chest freezer. Then I’ll vacuum seal it up. 🙂
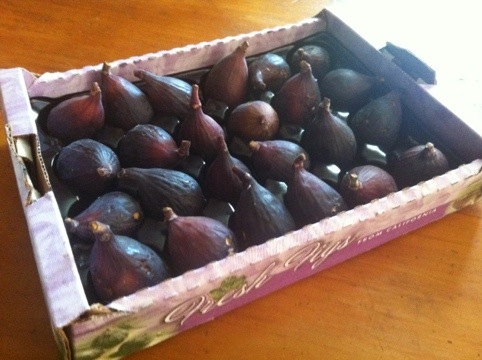
I also found figs!! They were a bit pricey…. I got about 2 lbs for $12. I really really wanted them
so I splurged. This product is definitely not local. 😦 They are from California. I just really couldn’t help myself. I’ll feel shamefully guilty when I eat some fig preserve on homemade biscuits with butter, or bake some thumbprint cookies. But I’ll find a way to get over it. :p
Ingredients:
2 lbs figs
2 cups water
1 cup sugar
1 vanilla bean
6 tablespoons bottled lemon juice
Tools needed:
Large pot
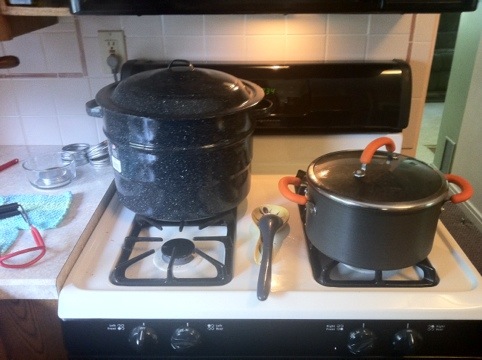
Water bath canner
Jar lifter
Small bowl
6 1/2 pint jars or 8 oz jelly jars (or any combination of jars you have)
How to!
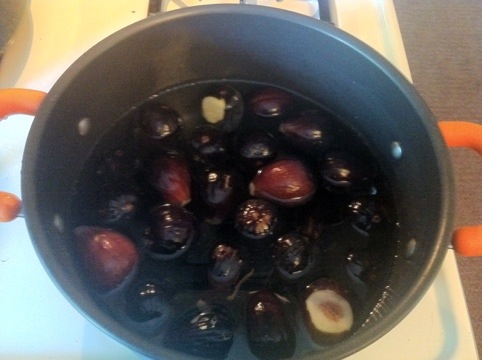
Step one: stem and wash the figs

Step two: prepare water bath canner. Once water is boiling, place jars in there to sterilize. Place lids into small bowl
Step three: once jars are ready, place figs in your large pot. Cover with at least an inch of water. Bring to a boil. Boil for two minutes to soften figs
Step four: strain figs. I leave the figs in the strainer. Add the water, sugar and scrapped vanilla bean and pod to pot. Dissolve sugar. Once boiling, add the figs back in and boil for five minutes.
Step six: using the jar lifter, lift jars out of the canner and pour out the water. Ladle some hot water to the small bowl with the lids.
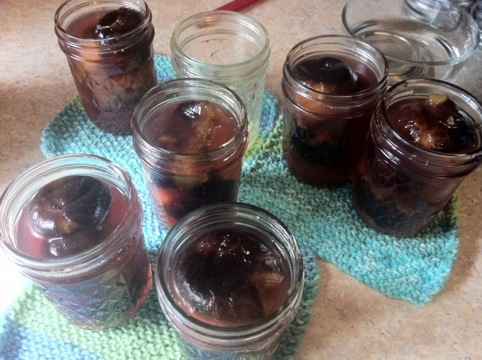
Step seven: put one tablespoon lemon juice into each jar. Using a slotted spoon, gently put the figs into the jars. Ladle the vanilla syrup over the figs. Wipe the lids with a clean towel. Place a lid on each jar then a ring.
Step eight: boil in the water bath canner for 20 minutes. Take out of the water and place on a towel. Let sit 24 hours. If it hasn’t sealed place in the refrigerator.
I’m going to make something yummy next weekend. I’ll let you know the recipe. 🙂